The Import Wizard dialog box appears.
The Specify source environment dialog box appears.
- BusinessObjects Enterprise 5.x
- BusinessObjects Enterprise 6.x
- Crystal Enterprise 8
- Crystal Enterprise 8.5
- Crystal Enterprise 9
- Crystal Enterprise 10
- BusinessObjects Enterprise XI
- BusinessObjects Enterprise XI R2
- BIAR File
- Text File
The fields that appear depend on the type of source environment you chose.
- If you select BusinessObjects Enterprise 5.x:
- Type the User Name and Password that provides you with administrative rights to the source environment.
- Provide the full path of the domain key file for the BusinessObjects Enterprise system, or click the browse button to select the domain key file.
- Click Next.
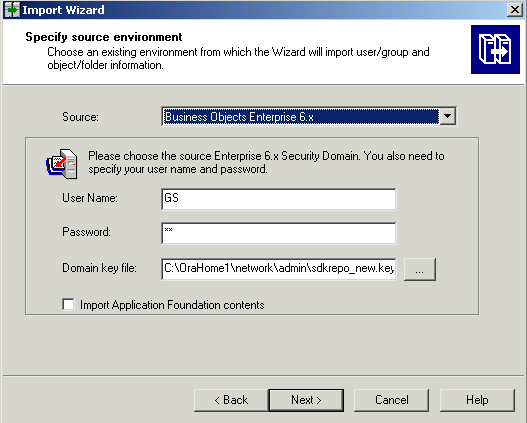
- If your source environment is BusinessObjects Enterprise 6.x:
- Type the User Name and Password that provide you with administrative rights to the source environment. You must have a General Supervisor profile in the repository.
- Provide the full path of the domain key file for the BusinessObjects Enterprise system, or click the browse button to select the domain key file, and then click Next.
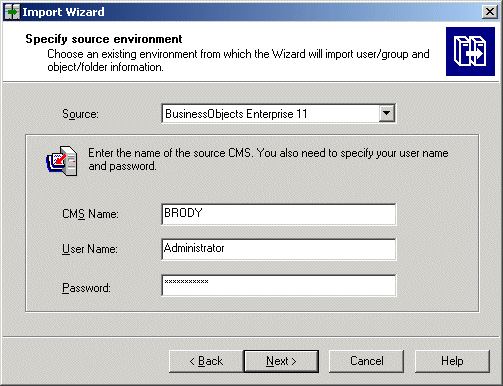
- If you select source environment of Crystal Enterprise or BusinessObjects Enterprise XI or XI R2.
- Enter either the name of the source CMS in the CMS Name field or the name of the source APS in the APS Name field.
- Type the User Name and Password that provide you with administrative rights to the source environment.
- Click Next.
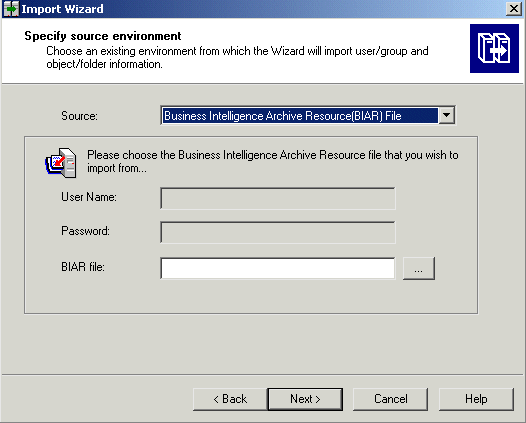
- If your source is a Business Intelligence Archive Resource (BIAR) file or a text file:
- Enter the location of the file in the BIAR file or Import file field.
- Click Next.
The specify destination dialog box appears.
The specify destination dialog box appears.
The specify destination dialog box appears.
The specify destination dialog box appears.
For information on how to complete next step, see Specifying the destination environment.


